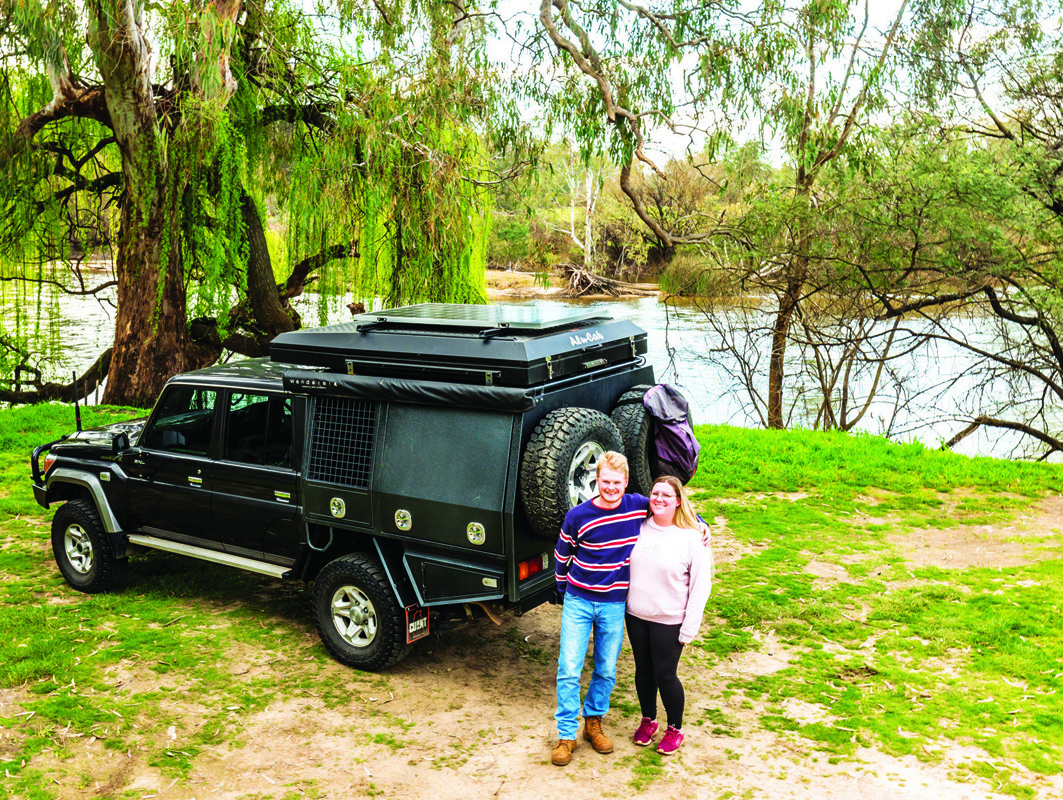
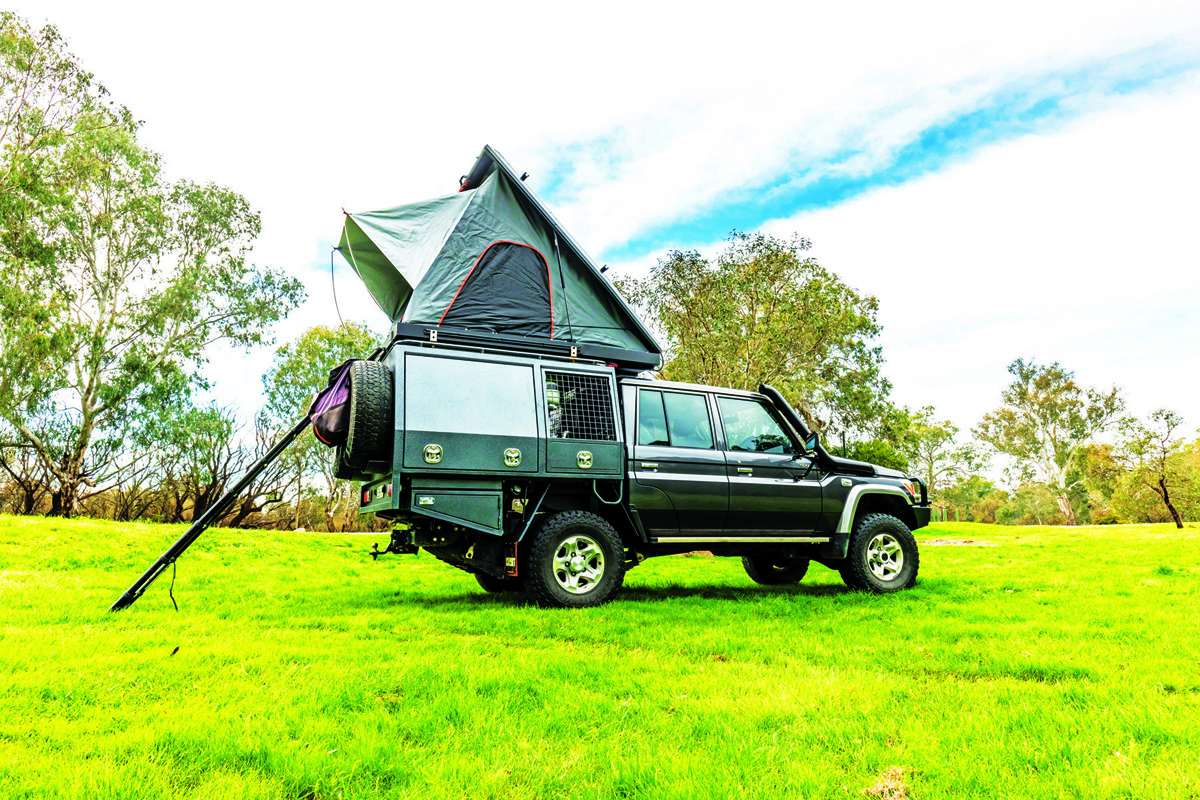
When it comes to setting up your 4WD as a tourer, a rooftop tent is often a popular choice. When Joe and Rhianna decided to add one to their 79 Series ‘Cruiser, a hardtop was the only thought they had. The hardtop rooftop tent market is huge these days, but it didn’t take long for the young couple to discover the Alu-Cab Gen 3 Expedition, and after a visit to Get Off Road 4x4 in Wodonga, their minds were made up.
The sleek design of the Alu-Cab now sits beautifully atop the black canopy, and the speed in which Joe and Rhianna can set up camp has blown them away. Within a minute they’re sitting down with cold beers and relaxing after a long day’s drive, and they couldn’t be happier. Now all they need is more time to get away and enjoy their fantastic setup.


ADDING THE BEDROOM EXTENSION
Installing the Alu-Cab to your 4WD is fairly simple once you have your roof load bars sorted. Alu-Cab offers its own 1450mm (L) load bars sold as a pair that can be matched with the right feet to suit each vehicle. The rooftop tent is also compatible with other third-party bars such as Rhino-rack, Front Runner and Rola. Included with the tent are four stainless steel brackets and all the bolts, nuts, washers and caps required to do the job properly.
The first job is to insert two M8x20 hex bolts into the rail welded to the base of the tent and one M8x20 square bolt into the cargo rail on the side of the tent base. Then insert two M8x20 hex bolts into the bracket slots and loosely screw on two M8 nyloc nuts.
Slide the bracket between the tent and the load bar, ensuring the two bolts heads on the bracket are located in the slot of the load bar. Make sure the bolts installed in the first step are located into the holes of the bracket and screw on the M8 nyloc nuts, tightening them all up. Repeat this process with the three remaining brackets.
If you prefer to bypass a DIY job and handball it to the professionals, Ironman 4x4 stores are skilled in the install of the rooftop tent. You’ll also need to run 12V power to connect to the tent via a 50A Anderson plug
LOOKING FROM THE OUTSIDE IN
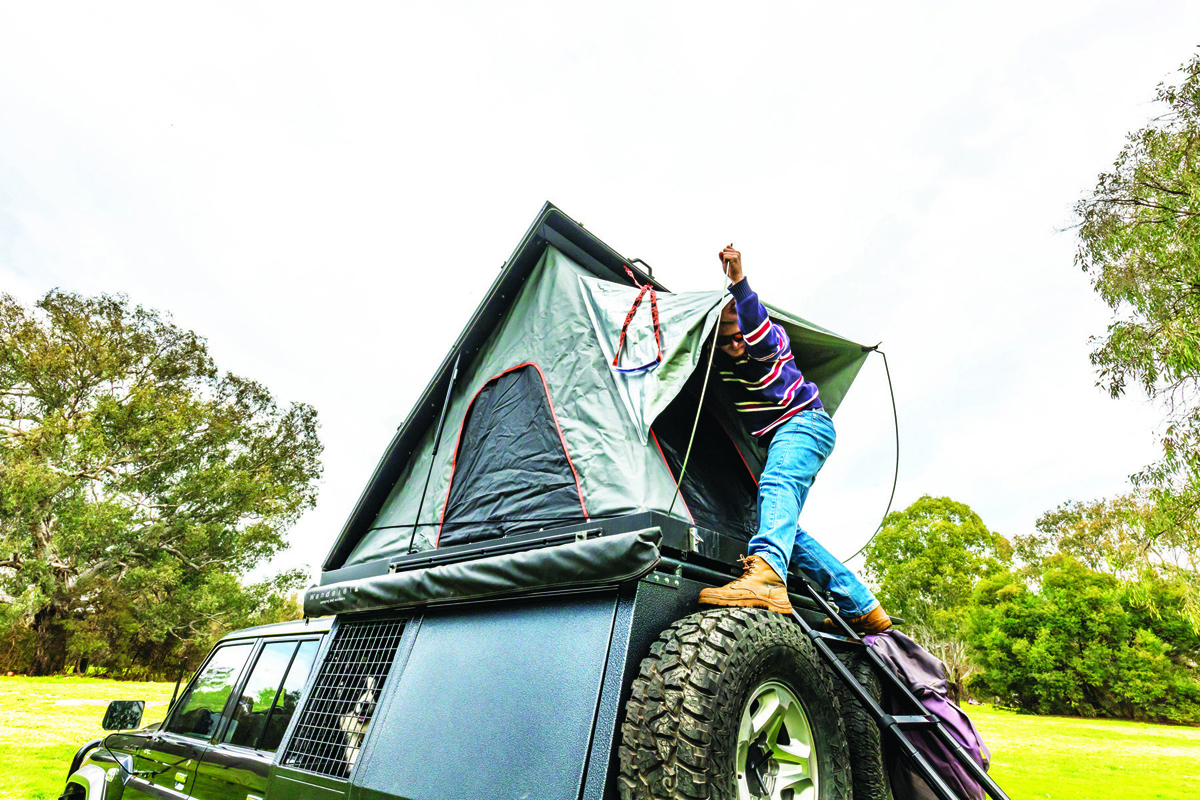
The Gen 3 tent has dual layer 400gsm UV-resistant rib-lock waterproof canvas with sealed seams. The dual layer helps with insulation, allows good airflow and also acts as a blackout, keeping the inside of the tent dark.
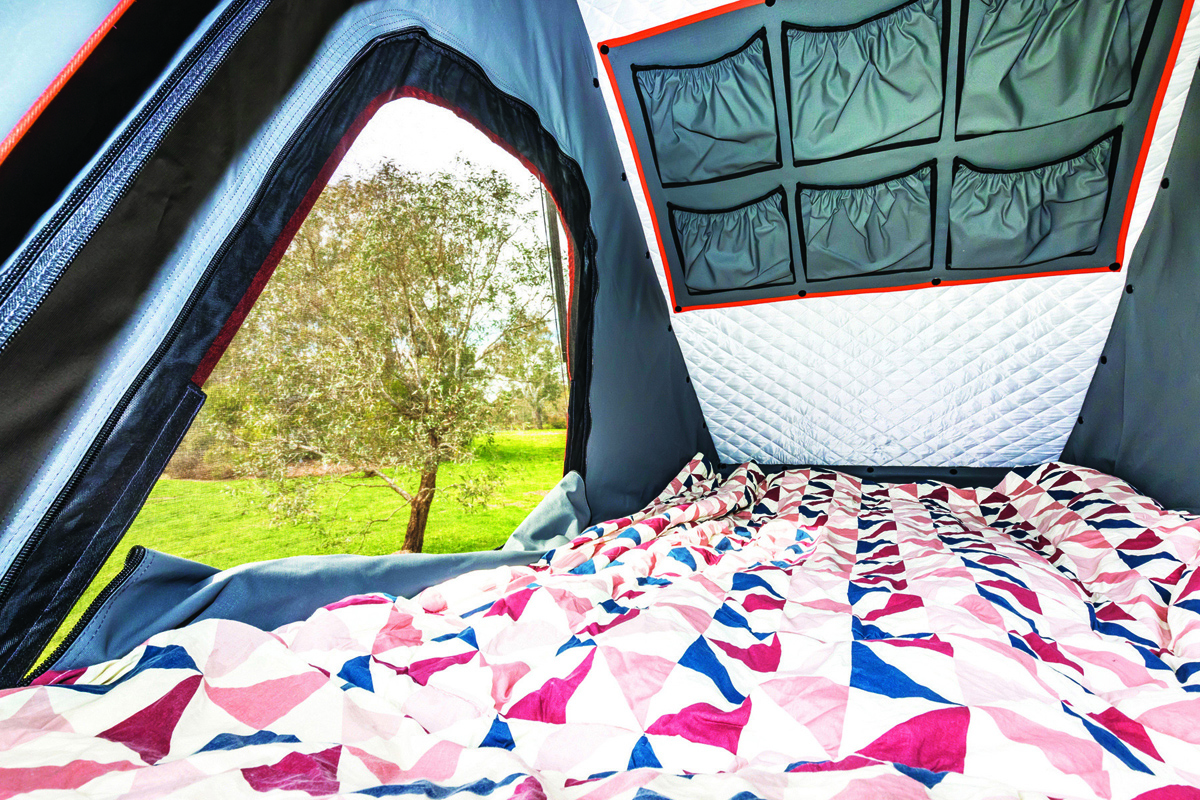
The windows zip down so they can be rolled up at the bottom when open. This design adds privacy and makes it easier to unzip the canvas window at the top to let the airflow through. The quality mesh screens are midge proof, perfect for northern Australian beach camping. The heavy-duty zippers make them easy to open and close. The windows are also large enough to allow maximum airflow when opened fully, perfect for that evening sea breeze or when needing to dry the canvas after rain.
The internal space of the tent is well proportioned for a clamshell design, measuring 210cm long by 130cm wide, and 160cm at the tallest point. The roof holds six storage pockets for your shoes, pj’s or even to hang your tablet to watch Netflix.
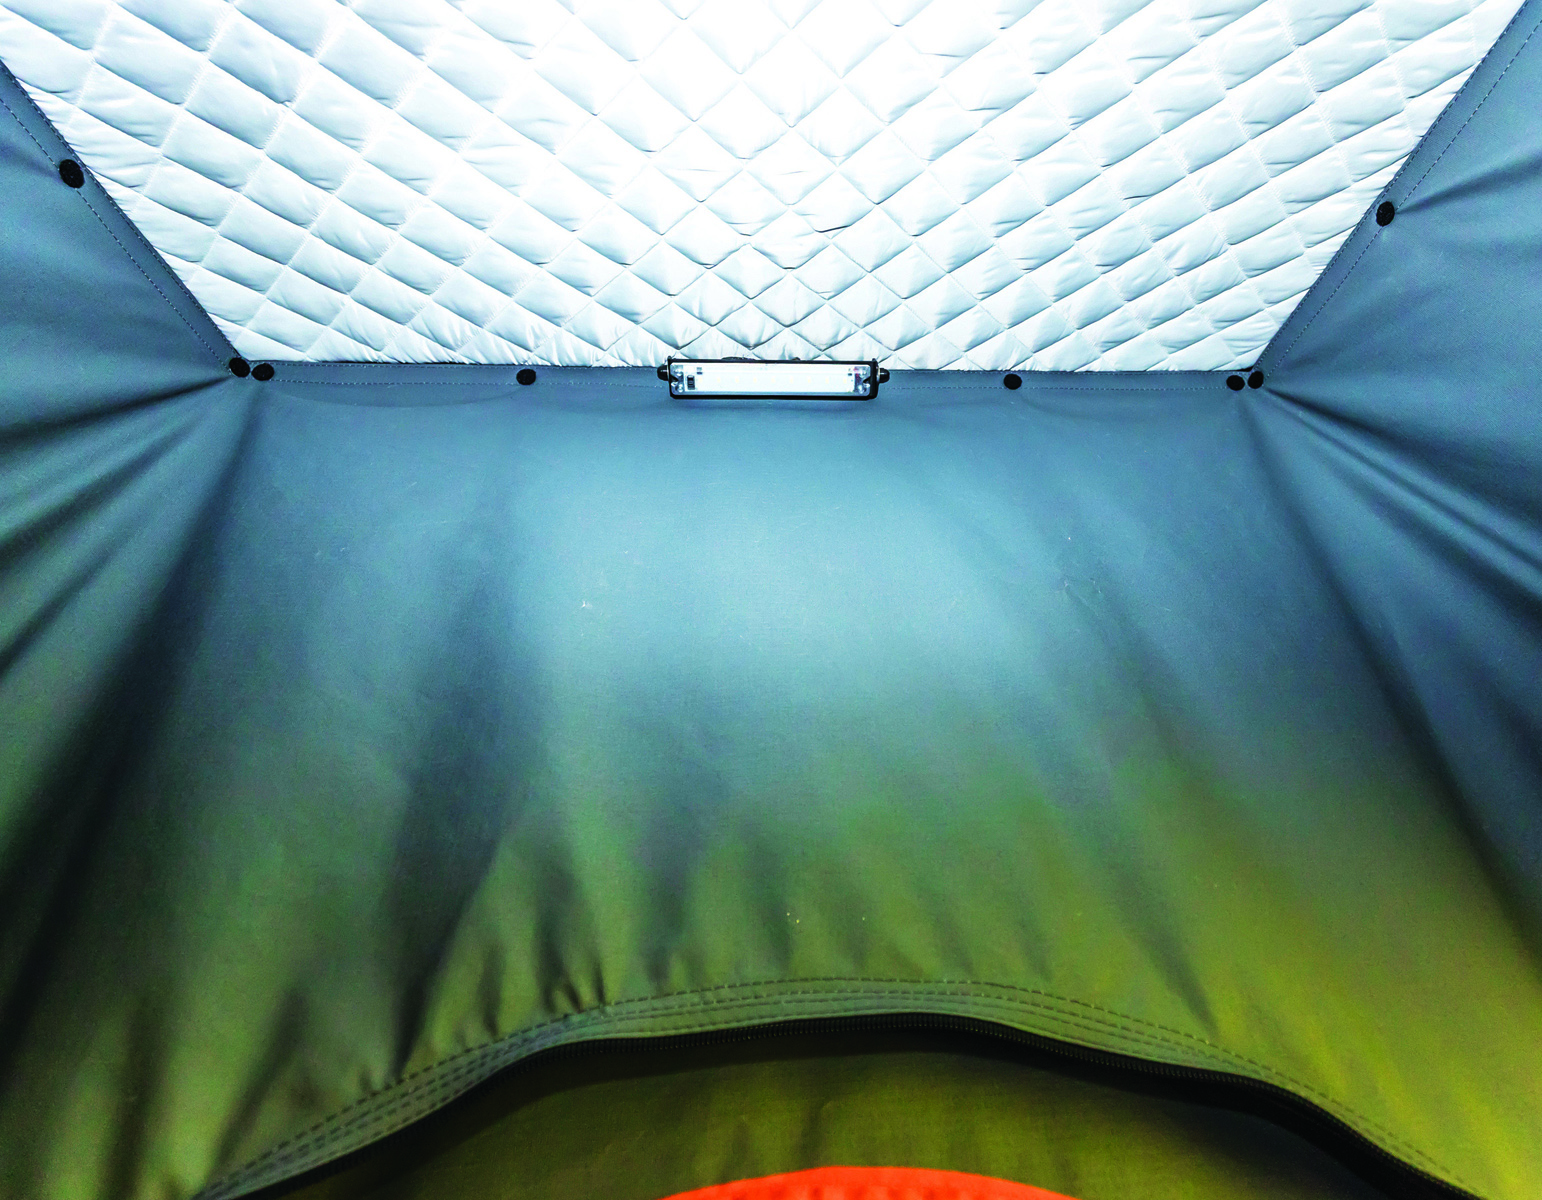
Your bedding can remain in the tent, including pillows, when packing up, making set up so much easier. With a volume of 4.4 cubic metres, the tent is extremely roomy with ample space for getting dressed, sitting up to read a book or just relaxing. Tucked away nicely, you’ll find two 12V power points and a dual USB power point, as well as two LED directional stork lights for reading and an overhead LED roof light. There is a switch under the driver’s side window that turns the power to the tent on and off.
Both the roof and the floor are well insulated, with the quilted roof 25mm closed-cell foam lining and the flooring 3mm foam lining. This helps keep the tent warmer in cold climates and cooler in hotter climates.
The mattress is 75mm high-density foam, a good start for most people. There is room enough though, to add one of those eggshell mattress toppers to increase the comfort level. All the stitching is first class and even the internal pop-riveting is neat and finished with plastic covers.
As with most tents and swags, condensation can be a problem, however if it does worry you, reusable dehumidifier pads can be found at Bunnings. It reduces dampness and condensation, then you throw it in the microwave for 10–15 minutes, drying it out and refreshing it for reuse.
THE SIMPLEST OF SETUPS
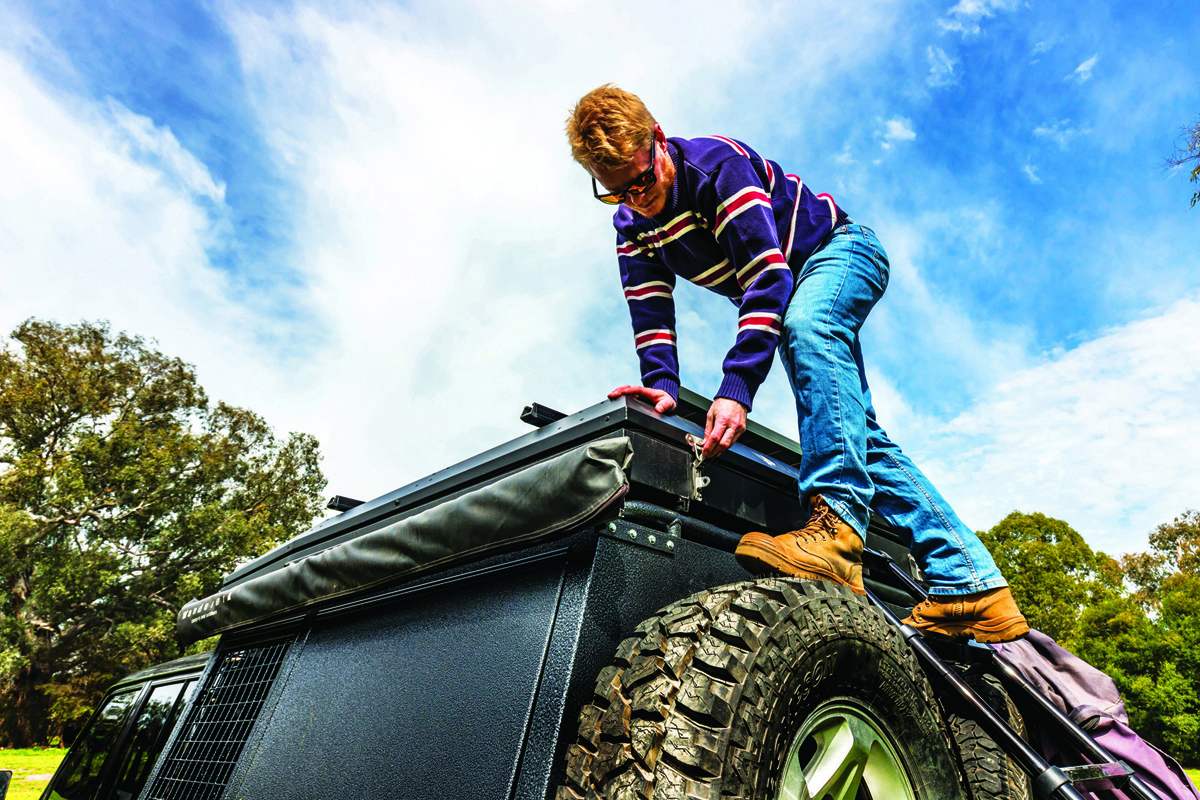
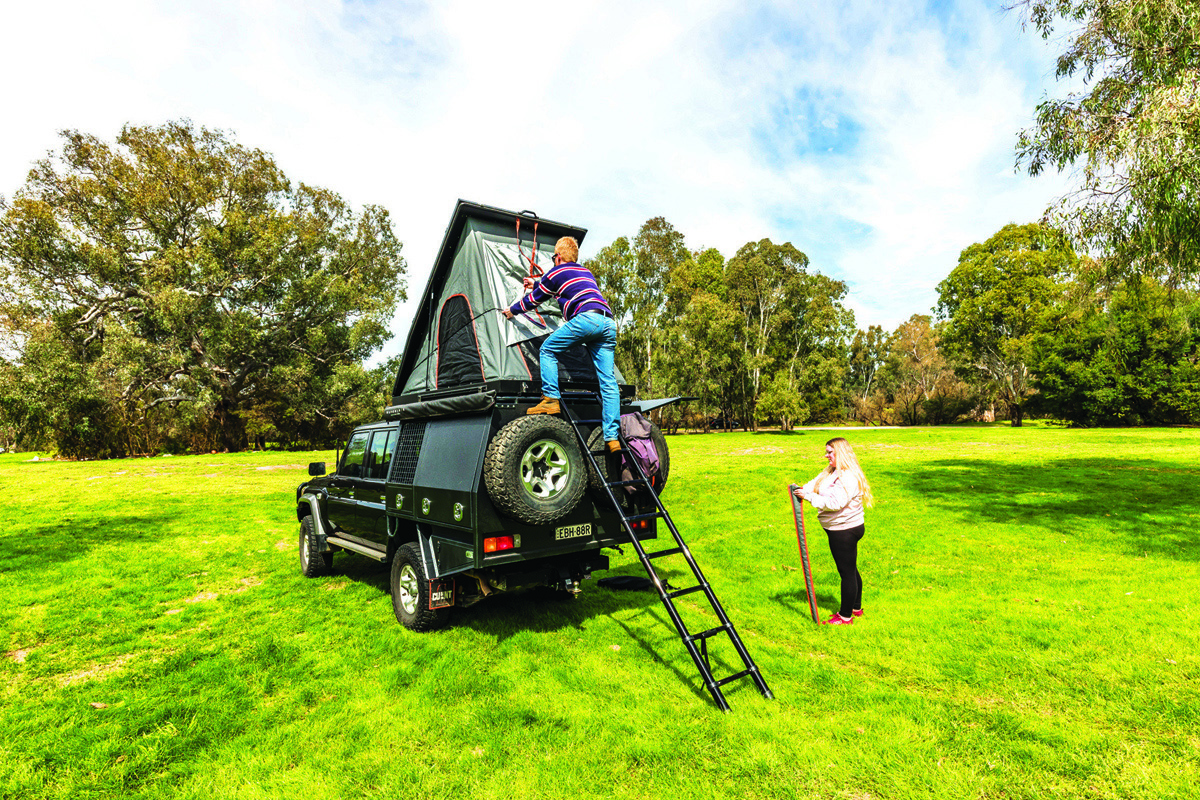
What makes touring more enjoyable? Having quick set up and pack down times, and the Alu-Cab Gen 3 delivers this in spades. It is as simple as releasing two latches on the end of the RTT and lifting the lid using the attached handle.
With gas struts on each side providing assistance, the lid lifts easily, even with a load on top. After pulling the paracord, used to hold the canvas section, down to the tent base, slot the two spring poles into their holes, attach to the storm cover and the tent is ready. Attach the ladder and you can be lying relaxed in bed within a minute.
There are two ladder options available — as standard a 2.1m straight ladder that can be extended 600mm or an optional 2.6m telescopic ladder. This takes up less space for transport, whereas the straight ladder can only be stored in the tent section, taking up valuable space.
The tent comes with a mounting point for the ladder installed below the rear window, but they also supply a second mounting point if you choose to access via one of the side windows, and it can be easily installed in the cargo rails.
There is only one storm cover, however, that provides shelter for the rear window. This means if you access the tent via the side windows during wet weather, your bedding will most likely be affected. Side awnings can be added as optional extras and further expense; however, this is a disappointing solution.
Packing up is the reverse of setting up — unhook the spring poles, move the paracord up to hold the canvas tight, close the lid and remove the ladder. It is beneficial to have the rear window unzipped a little to make opening and closing of the tent easier as it is almost impossible with all the windows zipped up.
Something that could be annoying, especially for light sleepers, is that the cord used to pull the lid closed hangs loosely when the tent is open and can blow around, scraping against the canvas or the lid of the tent.
WIND RESISTANCE
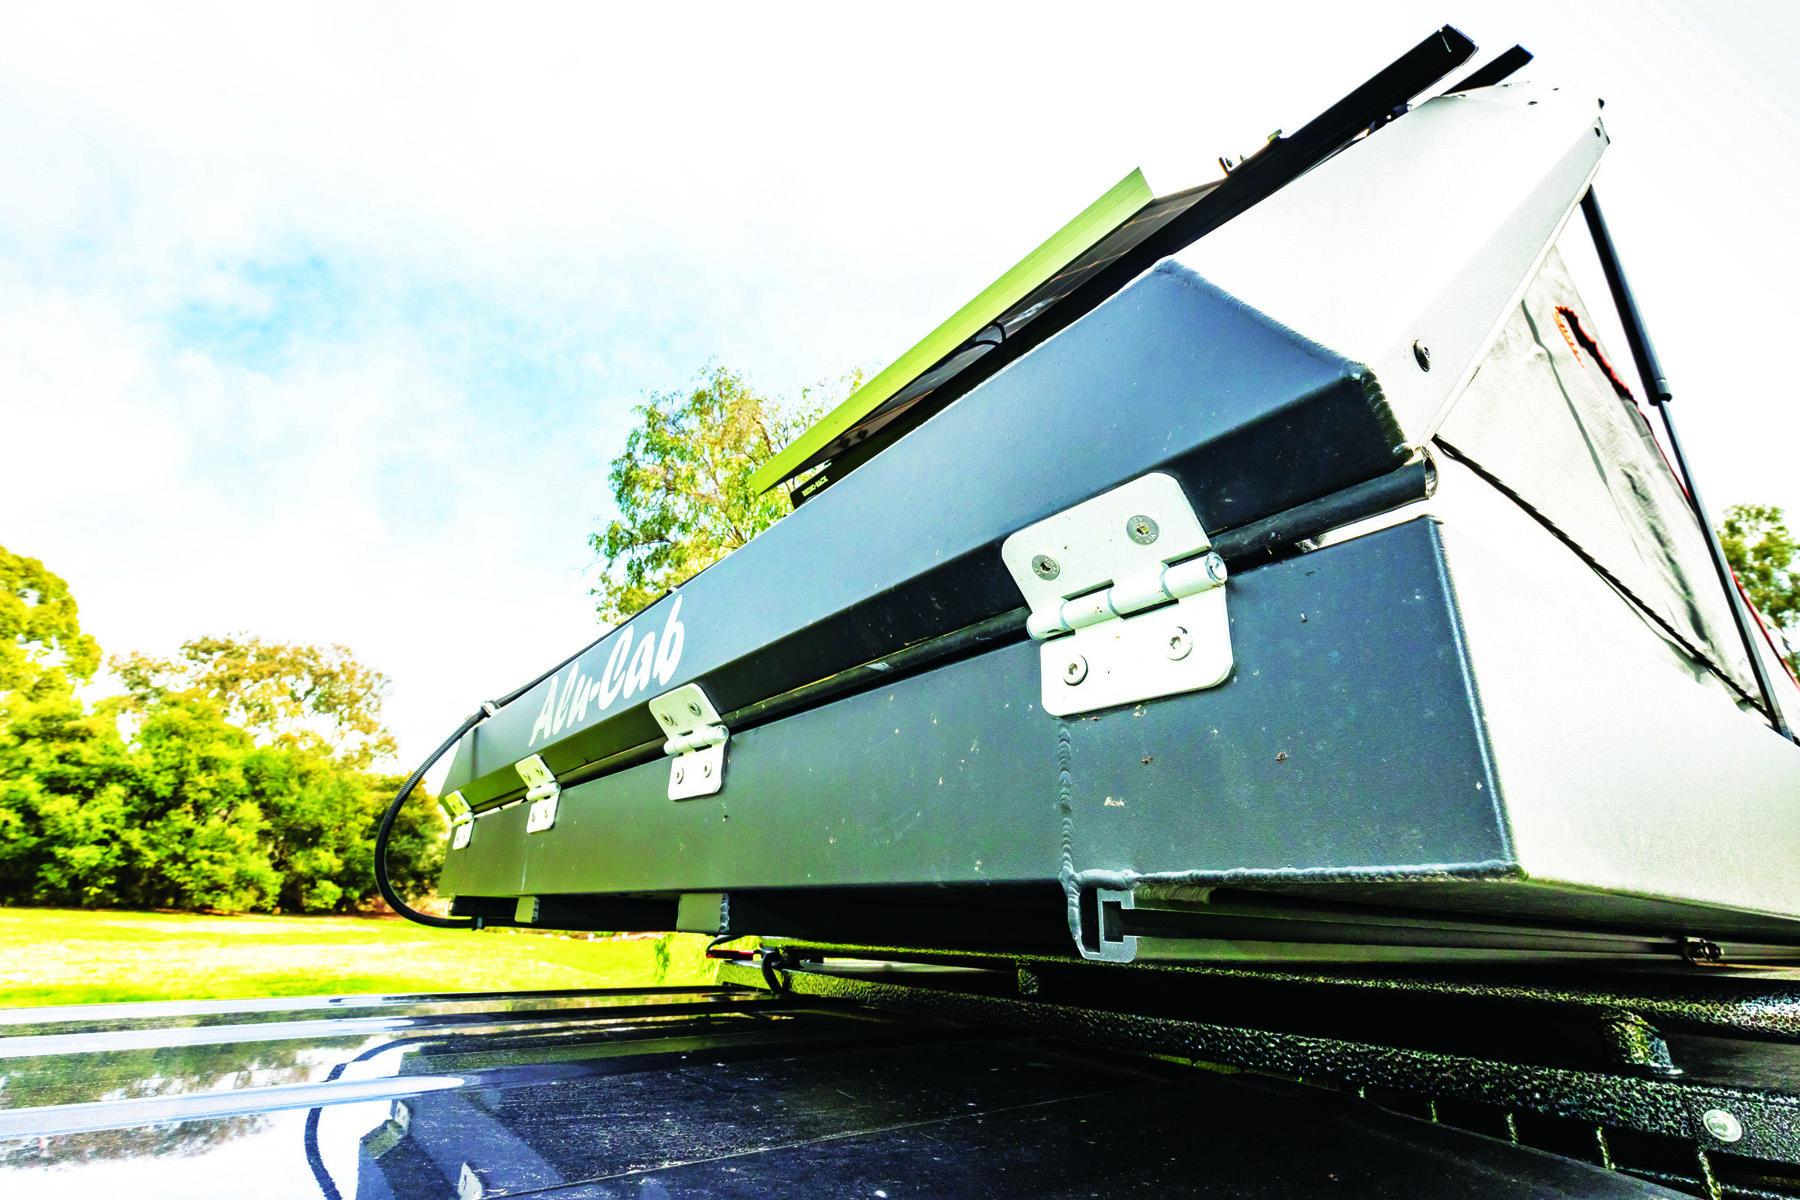
The Gen 3 has had some tweaks that improve its design. The front section of the lid now tapers and is 7cm lower than the rear of the shell, improving its aerodynamics and a providing a sleeker look. At 230cm the tent base will fit neatly on most 4WD’s and is narrower in the front than the rear by 10cm, again to help the aerodynamics.
The rubber seals perform an admirable task in keeping dust and water out when travelling, even in the harshest of conditions. Installing gas struts inside the lip of the lids is a good move, as they can’t get damaged by a tree branch.
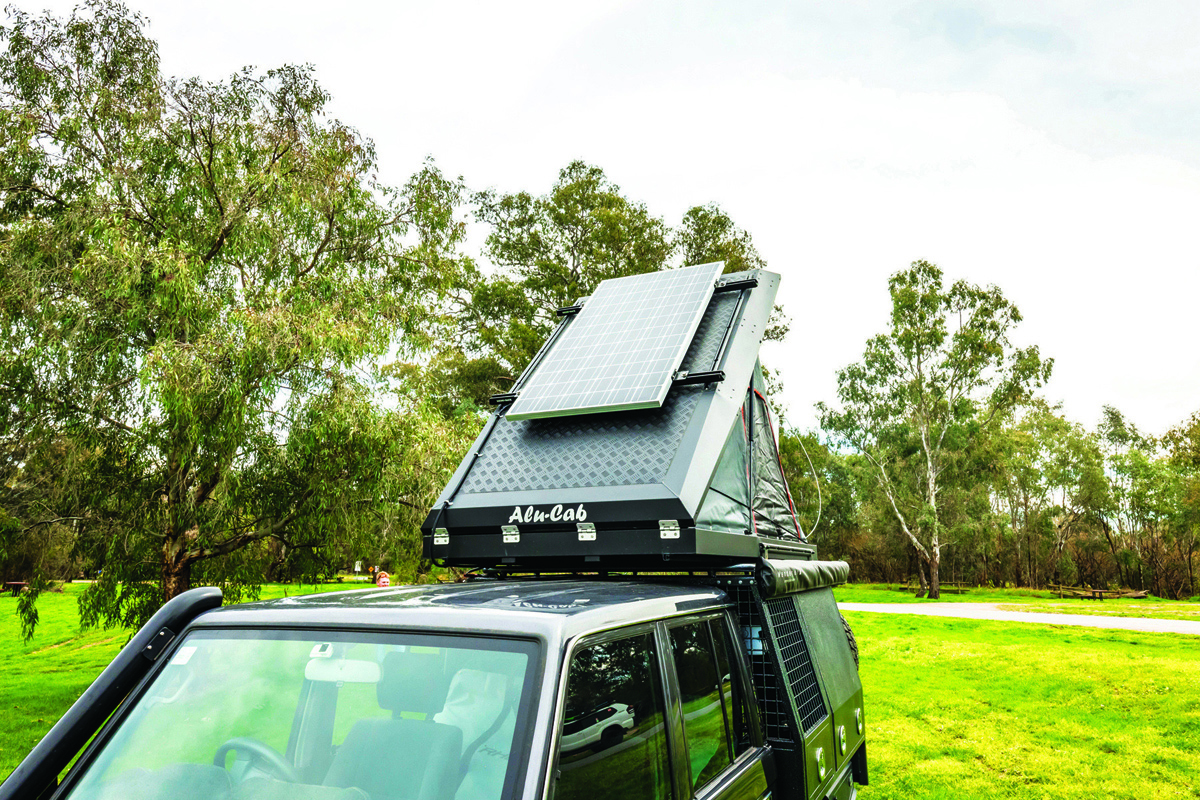
The roof of the tent is rated to carry 50kg, turning it into a mini roof rack. There are two rails on the roof, making it easy to attach tie-down points or install solar panels. Ironman 4x4 do not recommend that you load gear directly to the roof, they recommend using cross bars or installing a flat rack. The rails only extend 150cm from the back of lid to the fold in the shell, which means if you want to install a solar panel on the front section of the lid, you’d need to screw into the aluminium to do so.
The cargo railing that runs down either side of the shell only extends 150cm. If it continued all the way around, it would have provided an easy way of mounting lights, shovel mounts or high-lift jacks.
It’s important to know what roof weight limits your vehicle has. The Gen 3 weighs approximately 80kg empty and each Alu-Cab load bar weighs 3kg. Add your bedding and gear loaded on the lid of the rooftop tent may go over that limit so take care.
THE ALU-CAB STORY
Alu-Cab began life in South Africa in 2000, having seen overlanders in Africa explore further and longer by travelling simply, lightly and with resourcefulness. This led them to develop a lightweight aluminium canopy, before deciding, after more refinement, that they needed accessories to fully complement their revolutionary canopy. This led to their hard lid rooftop tents, eventually allowing them to expand distribution into Australia. They are now available nationally through Ironman 4x4. Their latest version, the Gen 3 Expedition, is the most innovative yet and is certainly gaining popularity in our overlanding market.
THE BOTTOM LINE
The Alu-Cab Gen 3 Expedition is a good quality rooftop tent and it’s one of the more expensive hardtop tents on the market, with a starting price of $5600. It also has a few minor flaws, but that could be because I’m a hard reviewer, or that I know what I want in a hard-top rooftop tent. However, what you get here is a well-constructed bit of kit, designed specifically for Australian conditions, unlike some other rooftop tents.
A big negative of a rooftop tent is that when you want to go for a drive or pop down to the pub, you’ve got to close it up and then open it all again. However, the ease in which the Gen 3 can be set up and the simplicity in which it can be packed down makes it an absolute winner.
The comfortable interior offers excellent insulation, functional storage and ample room to move is what you want in a popup bedroom. Whether you’re a weekend camper or someone who loves extended touring, this rooftop tent will certainly fit what you’re looking for.
A SPARE PROBLEM
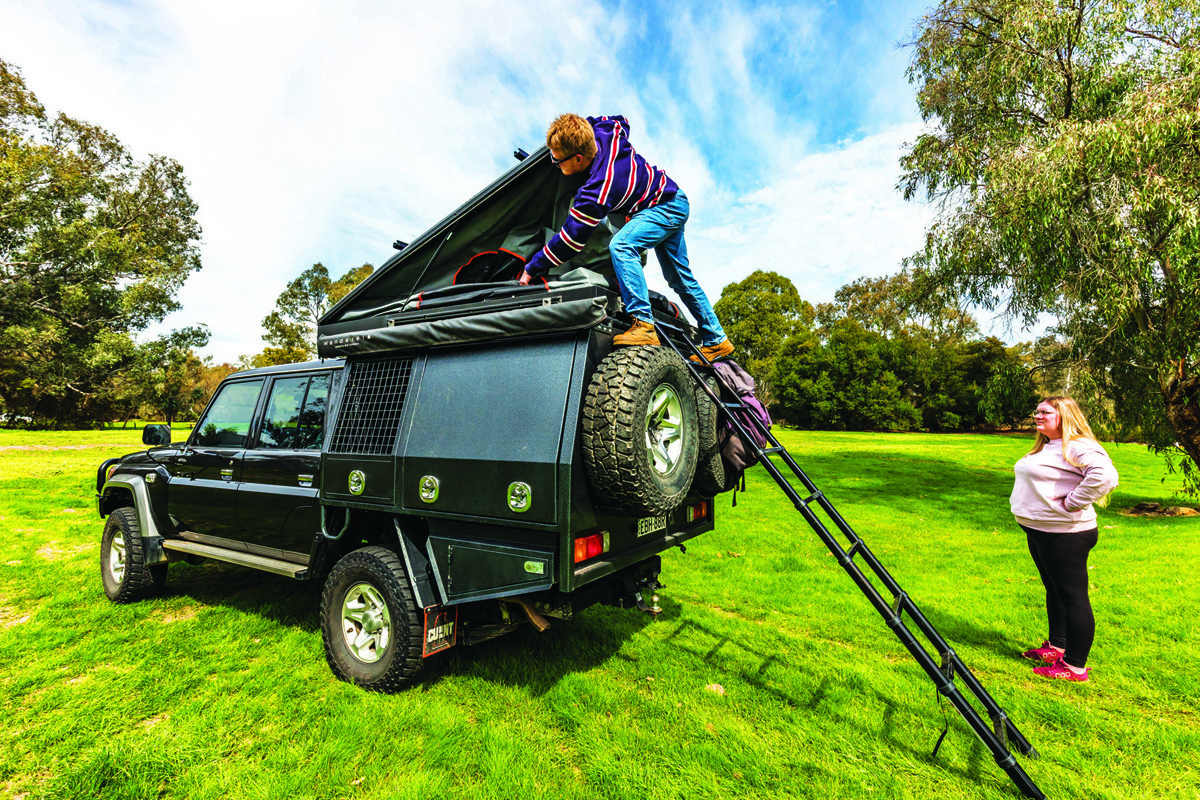
A problem with installing a rooftop tent onto a canopy with spare wheels hanging off the back, is they are a hindrance when accessing the tent. As you can see from the photos of Joe and Rhianna’s set up, the ladder is at a crazy angle. So crazy, in fact, I was concerned climbing it to photograph the interior of the tent. In the wet or with muddy boots, it could be a dangerous climb. They can’t place the ladder on the side because the canopy doors need to be accessible all the time (fridge, BBQ, hot water service).
In hindsight, it may have been better to mount the Gen 3 rooftop tent with an overhang off the rear of the canopy by 200–250mm, that would provide some coverage over the tyres and reduce the angle of the ladder when connected.
SPECS
Weight 88kg
Shell Material Aluminium
Canvas Material Dual layer 400gsm UV-resistant rib-lock waterproof canvas with sealed seams
Ladder 2.1m straight ladder that can be lengthened with a 600mm extension or optional 2.6m telescopic ladder
Mattress 75mm high-density foam with zipped cover
Roof Cargo Area Carrying Capacity 50kg
Style Hard top
DIMENSIONS
Travel size 230cm (L) x 140cm (W) x Front 21cm (H), Rear 28cm (H)
Sleeping area 210cm (L) x 130cm at the shoulders (W) x 160cm (H)
Internal volume 4.4 cubic metres approx.
INCLUDED ACCESSORIES
Led bed lights and LED roof light; internal 12V plug point and dual USB points; ladder; storage pockets
OPTIONAL UPGRADES
Ladder extension for taller vehicles; Side Rain Entrance Cover; Alu-Cab Shadowawn 270º awning; Load bars; Roof rack tray with table bracket
PRICE
$5600 plus fitting and freight if required
MORE INFO
Alu-Cab Rooftop Tents
Australian Dealers Ironman 4x4
E: hello@alu-cab.com.au
W: alu-cab.com.au